ANNONCE
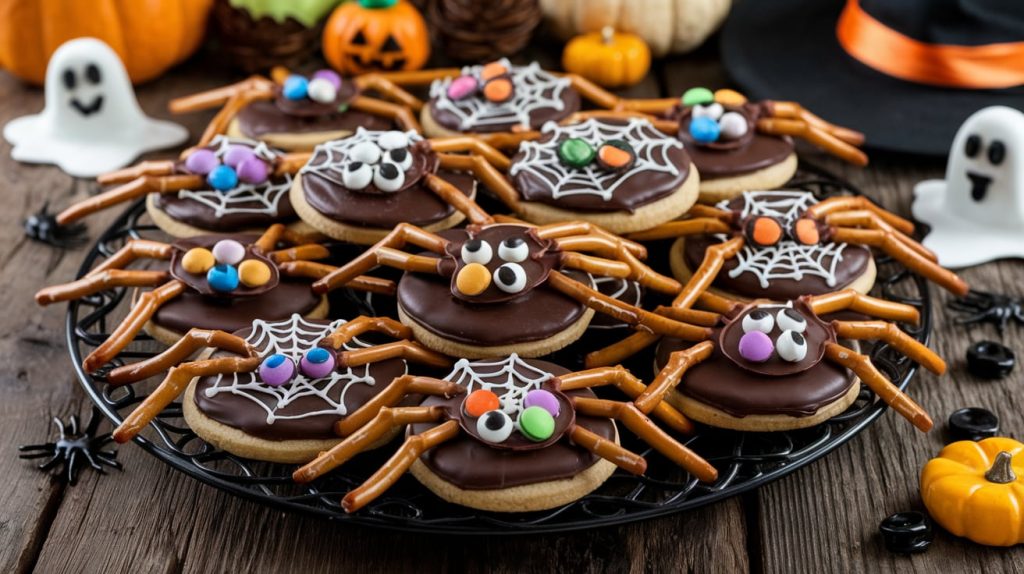
Halloween Spider Cookies 🕷️🍪
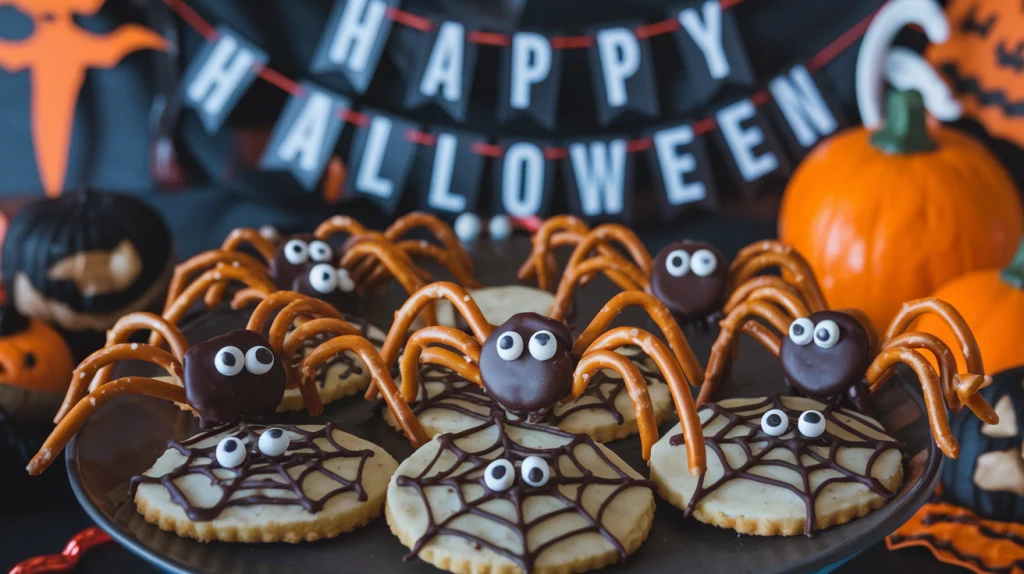
Halloween is a magical time of year, full of whimsical decorations, eerie costumes, and, of course, delightful treats. It’s the perfect opportunity to let your creativity shine in the kitchen, and what better way to celebrate the spooky season than by baking up a batch of Halloween Spider Cookies? These fun and festive cookies are not only deliciously sweet but also provide an interactive and engaging baking experience for both kids and adults alike.
ANNONCE
Imagine sinking your teeth into a soft, chewy cookie adorned with chocolatey spider decorations, instantly bringing a playful twist to your Halloween festivities. The best part is that you can customize these cookies to reflect your personal style, whether you prefer cute and cartoonish spiders or more realistic, creepy-crawly designs. In this article, we’ll dive deep into everything you need to know to create the perfect spider cookies for Halloween, ensuring that your culinary creations stand out this spooky season.
Table of Contents
Introduction
Halloween Spider Cookies are a festive and fun way to celebrate the spooky season. These cookies are designed to look like creepy crawly spiders, making them a perfect addition to any Halloween gathering. With a rich, chocolatey flavor and eye-catching design, they are sure to be a hit with both kids and adults.
ANNONCE


Ingredients and Tools
Before you start, collect the following ingredients and tools to facilitate a seamless baking experience.
Ingredients
- Butter: 1 cup, softened
- Sugar: 1 cup
- Brown Sugar: 1 cup
- Eggs: 2
- Vanilla Extract: 2 teaspoons
- All-Purpose Flour: 3 cups
- Baking Soda: 1 teaspoon
- Salt: 1/2 teaspoon
- Cocoa Powder: 1/2 cup
- Chocolate Chips: 1 cup
- Mini Pretzel Sticks: for legs
- Candy Eyes: for decoration
Tools
- Mixing Bowls
- Baking Sheets
- Parchment Paper
- Electric Mixer
- Cookie Scoop
Halloween Spider Cookies Recipe
Follow these simple steps to create your own batch of spider cookies for Halloween.
Related Posts:


- Preheat the Oven: Preheat your oven to 350°F (175°C) and prepare your baking sheets by lining them with parchment paper.
- Cream the Butter and Sugars:In a large mixing bowl, use an electric mixer to beat the butter, sugar, and brown sugar together until the mixture is light and fluffy.
- Add Eggs and Vanilla: Add the eggs one by one, mixing well after each addition, then stir in the vanilla extract.
- Combine Dry Ingredients: In another bowl, whisk together the flour, baking soda, salt, and cocoa powder.
- Mix Together: Slowly incorporate the dry ingredients into the wet mixture, mixing just until combined. Finally, fold in the chocolate chips
- Shape the Cookies: Use a cookie scoop to drop dough onto prepared baking sheets, spacing them about 2 inches apart.
- Bake:Bake for 10 to 12 minutes, or until the edges are firm. Let the cookies cool for a few minutes on the baking sheet.
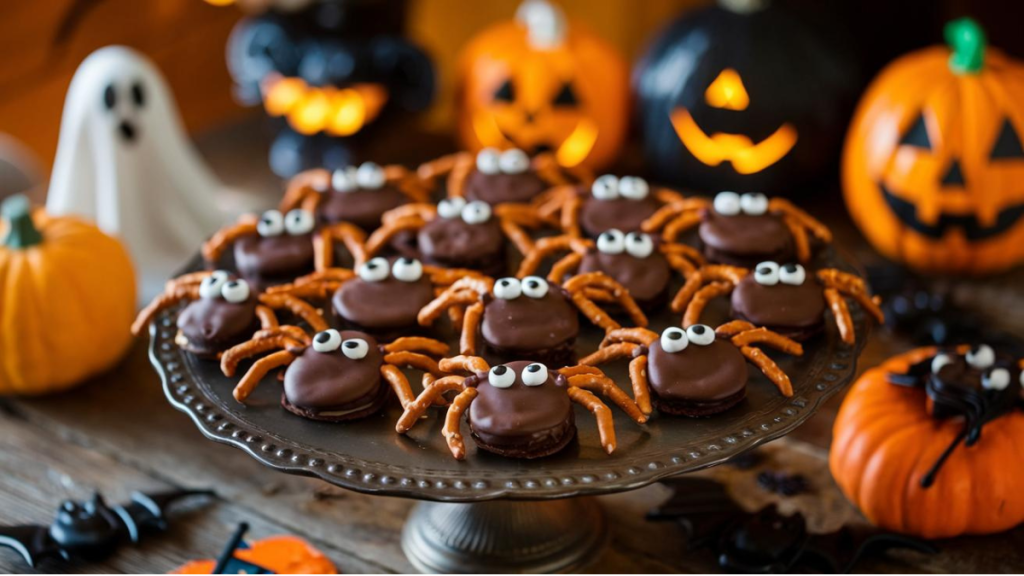
- Decorate: While the cookies are still warm, gently press mini pretzel sticks into the sides to create legs, and add candy eyes to form spider faces.
Decoration Tips
Creating the perfect spider cookies for Halloween calls for creative decorating. Here are some tips to make your cookies stand out:
Creative Decorating Tips for Halloween Spider Cookies
Use Melted Chocolate
One of the simplest yet most effective ways to enhance the spookiness of your Halloween Spider Cookies is by using melted chocolate to create intricate webs on top of the cookies. To do this, melt your favorite chocolate—whether it’s dark, milk, or white—until it reaches a smooth, pourable consistency. Once melted, transfer the chocolate to a piping bag or a small plastic bag with a corner snipped off for easy decorating.
Begin by piping a spiral shape in the center of the cookie, gradually working your way outward to form a web-like design. You can create various sizes depending on your cookie size, but aim for a design that looks both whimsical and creepy. To elevate the spooky factor, consider adding a few chocolate drizzle drops to enhance the web effect further. The shiny chocolate will not only add visual appeal but also a delicious taste that complements the cookie base perfectly.
Vary the Leg Lengths
To make your spider cookies even more quirky and fun, consider using pretzel sticks for the spider legs. This not only adds a crunchy texture but also allows for a playful variation in design. Break the pretzel sticks into different lengths—some short, some long—to give each spider a unique and whimsical appearance.
For instance, you might want to use four short pretzel pieces for the front legs and four longer pieces for the back, creating a dynamic and interesting silhouette. You can also experiment with the placement of the legs; try positioning them at different angles to give the spiders a more animated look. This small touch can transform your cookies from simply sweet to delightfully bizarre, making them a hit at any Halloween gathering.
Add Color
To truly bring your spooky spiders to life, don’t forget to add color using colored icing. This is your chance to infuse personality into each spider, making them as charming or as frightening as you like! Use a variety of colored icing—think vibrant greens, deep purples, or even classic orange and black—to create a selection of spiders that could fit right into a Halloween tale.
You can pipe little eyes using white icing with chocolate chips or colored beads for pupils to give your spiders a friendly or mischievous look. Additionally, consider using edible glitter or colored sugar for a sparkling touch that adds an extra layer of fun. By varying the colors and designs, you’ll create a visually stunning assortment of spider cookies that are sure to captivate your guests and spark joy during the Halloween festivities.
With these creative decorating tips, your Halloween Spider Cookies will not only be delicious but also a delight to behold, making them the perfect treat for the spookiest time of the year!
Creative Variations
Looking to put a twist on the classic Halloween Spider Cookies? Try these creative ideas:

| Variation | Description |
|---|---|
| Peanut Butter Spiders | Replace cocoa with peanut butter for a nutty flavor |
| White Chocolate Webs | Drizzle with white chocolate for a ghostly effect |
| Spicy Chocolate | Add a pinch of cayenne for a surprising kick |
Serving Suggestions
Halloween Spider Cookies make a fantastic addition to any Halloween spread. Here are some ways to serve them:
- Cookie Platter: Arrange cookies on a platter with Halloween-themed decorations.
- Gift Bags: Wrap cookies in cellophane bags tied with festive ribbons for party favors.
- Paired with Drinks: Serve alongside hot chocolate or apple cider for a cozy treat.
Spooky and Spectacular Halloween Spider Cookies Nutrition Information
| Nutritional Information | Per Cookie |
|---|---|
| Calories | 150 |
| Total Fat | 8 g |
| Saturated Fat | 3 g |
| Cholesterol | 15 mg |
| Sodium | 100 mg |
| Total Carbohydrates | 20 g |
| Dietary Fiber | 1 g |
| Sugars | 10 g |
| Protein | 2 g |
- Festively Fun: Perfectly themed for Halloween with a spooky twist.
- Creative Design: Easy to decorate, making them a hit at any Halloween gathering.
- Deliciously Sweet: A tasty treat that combines classic cookie flavors with a fun presentation.
Conclusion
Halloween Spider Cookies are more than just a treat; they embody the spirit of the spookiest time of the year! With their whimsical and creepy-crawly design, these cookies instantly capture the essence of Halloween, making them a perfect centerpiece for any festive gathering. Their unique appearance, featuring chocolate spiders perched atop a deliciously baked cookie, is sure to spark joy and excitement among both children and adults.
Spooky and Spectacular Halloween Spider Cookies: Your Q&A Guide to Festive Treats
Hungry for more? Follow us on Facebook for fresh, free recipes every single day!
Q1: What ingredients do I need to make Halloween spider cookies?
A1: To make Halloween spider cookies, you will need basic cookie ingredients such as flour, sugar, butter, eggs, and baking powder. For decoration, you’ll need chocolate or black frosting for the spider bodies, chocolate candies (like M&Ms) for the eyes, and pretzel sticks for the legs.
Q2: How can I achieve a perfect cookie texture for spider cookies?
A2: To achieve a perfect cookie texture, ensure you cream the butter and sugar well until light and fluffy. Avoid overmixing once you add the dry ingredients, and chill the dough for at least 30 minutes before baking to help maintain the shape.
Q3: What type of cookie base works best for spider cookies?
A3: A soft sugar cookie or chocolate cookie base works best for spider cookies. Both options provide a sturdy yet tender foundation that holds up well to the decorations while still being delicious.
Q4: How do I decorate the cookies to look like spiders?
A4: To decorate the cookies, first, frost the cookie with chocolate or black frosting. Then, use pretzel sticks to create spider legs, placing four sticks on each side. Finally, add two chocolate candies for the eyes, and you have a spooky spider cookie!
Q5: Is it possible to prepare the cookie dough in advance?
A5: Yes, you can make the cookie dough ahead of time! Chill the dough in the refrigerator for up to 3 days, or freeze it for up to 3 months. Just remember to let it thaw in the refrigerator before rolling and baking.
Q6: Do these cookies need to be stored in a specific way?
A6: Yes, you can keep the decorated spider cookies in an airtight container at room temperature for up to one week.If you need to stack them, place parchment paper between layers to prevent sticking and damage to the decorations.