I’ll never forget the first loaf of bread I baked with my grandmother during a rainy weekend in upstate New York. The pantry was bare no yeast in sight but Grandma simply smiled, reached for a wrinkled date from her fruit basket, and said, “We’ll make our own.” Within days, her jar bubbled with life, and the bread that followed had a depth of flavor store-bought yeast could never replicate.
ANNONCE
That moment sparked my lifelong fascination with natural yeast not just as a leavening agent, but as a bridge between generations, sustainability, and mindful eating.
Why Will You Like This Recipe?
This natural yeast method is simple, alcohol-free, and uses pantry staples like fruit and sugar. It’s cost-effective, reduces reliance on commercial products, and connects you to centuries-old fermentation wisdom all while yielding bread with superior taste and digestibility.
Servings: Makes enough yeast for 1–2 loaves (500g–1kg flour)
Calories: ~5 kcal per tablespoon (negligible in final baked goods)
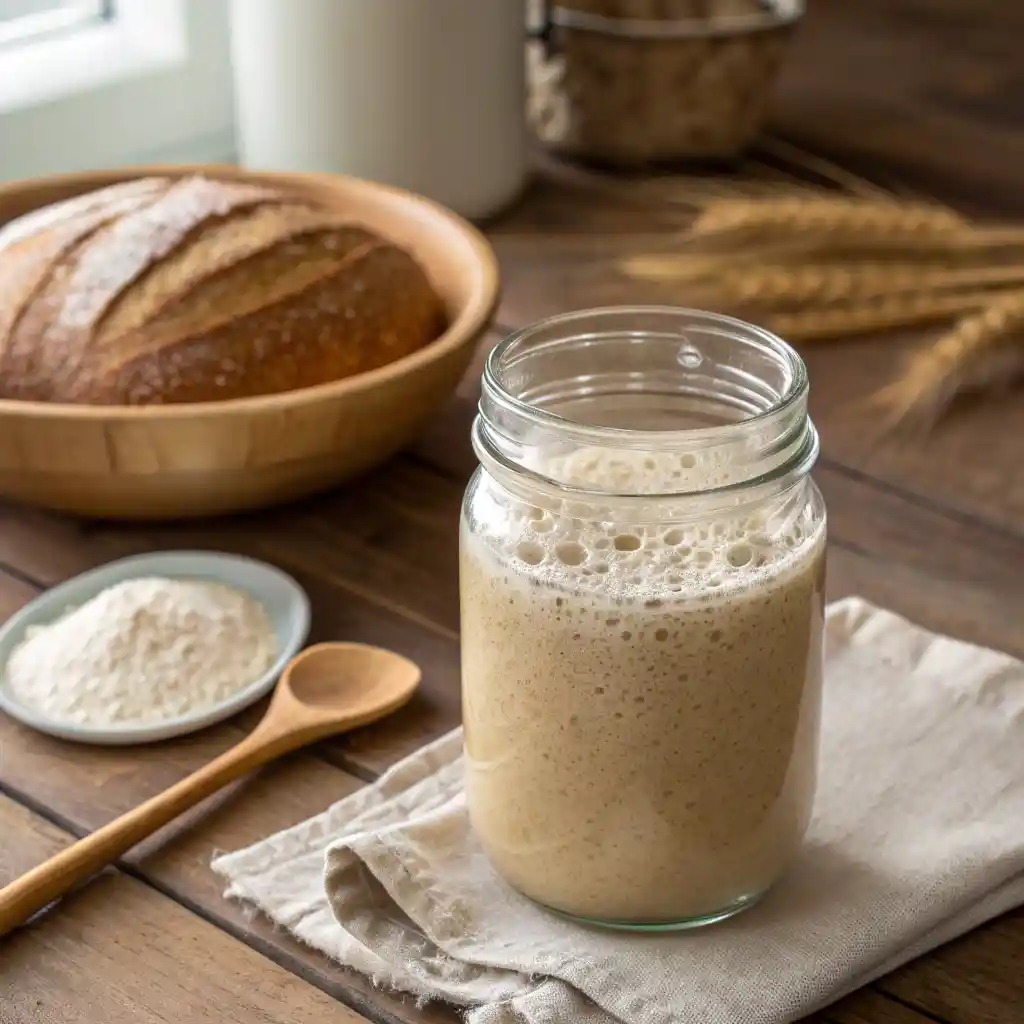
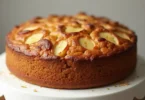
Homemade Natural Yeast Water
This simple, sustainable method for creating natural yeast water uses organic fruit, sugar, and filtered water to cultivate live wild yeast. It’s cost-effective, naturally gluten-free, and produces flavorful, easy-to-digest bread without relying on commercial yeast.
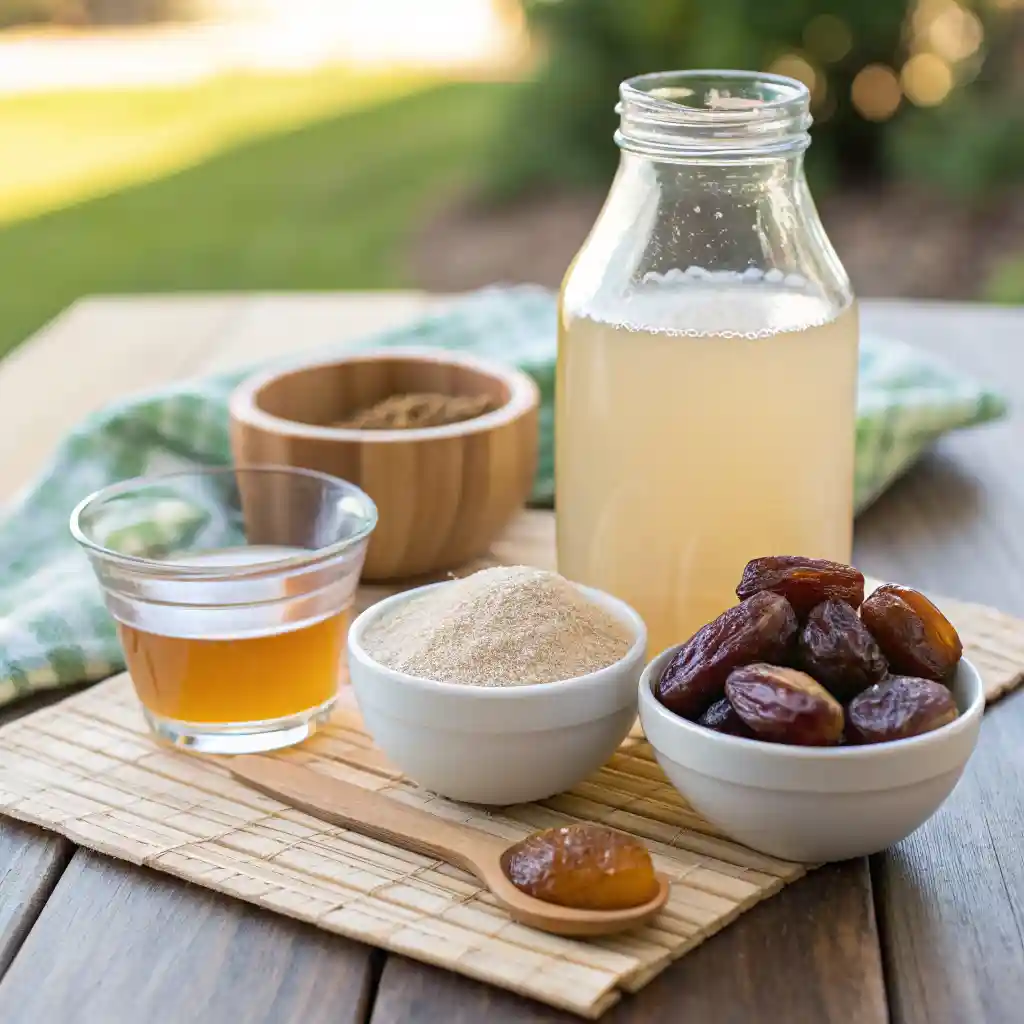
2organic Medjool datesor 10 raisins, or 1/2 cup apple pieces; unwashed and organic
1tsporganic cane sugar or raw honeyfeeds the yeast
500mlfiltered or spring waterchlorine-free
1clean glass jar with loose-fitting lidsterilized with baking soda water
Instructions
Step 1: Sterilize and Combine. Clean your jar and lid using hot baking soda water (1 tsp baking soda per 1L water), then rinse with boiling water. Add the fruit, sugar/honey, and water. Halve dates to expose more surface area.
Step 2: Ferment. Loosely cover the jar and place it in a warm (20–27°C), dark spot for 3–8 days. Shake vigorously once daily to oxygenate and release CO₂.
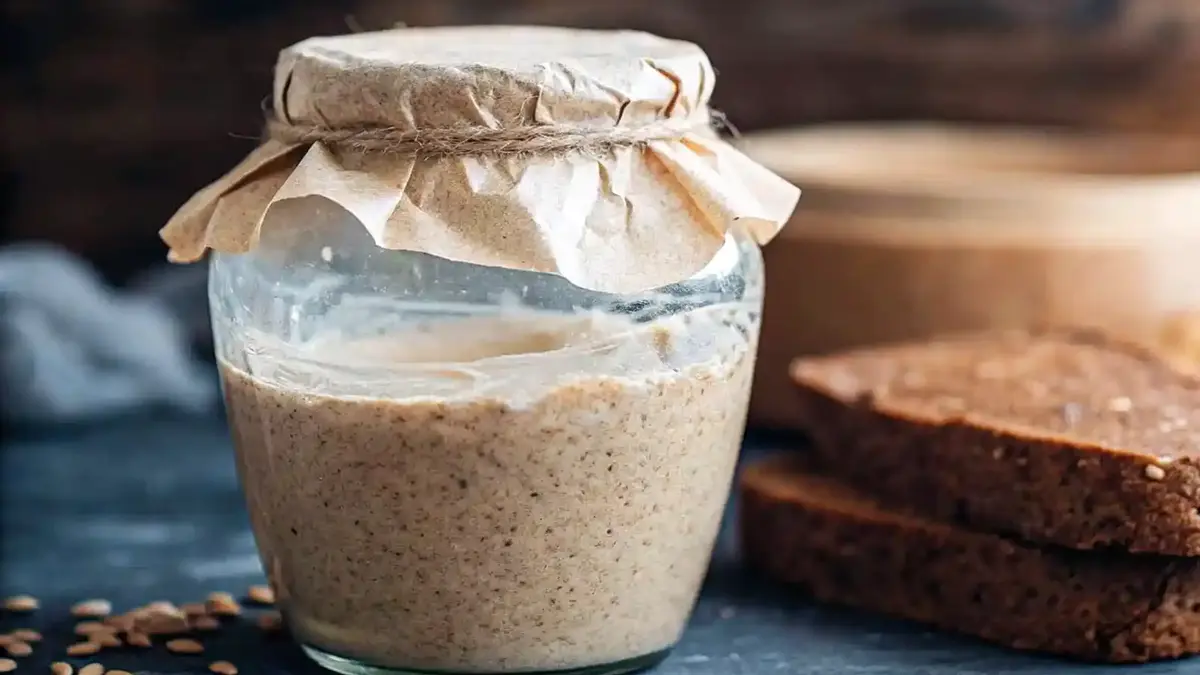
Step 3: Monitor. Look for tiny bubbles and a mild fruity aroma by day 3–5. The liquid should turn cloudy and smell pleasantly fermented—not sour or rotten.
Step 4: Ready to Use. When bubbling slows and aroma is sweet-fermented, strain and refrigerate. Shake before using. Use 100–135 ml per 500g flour in baking recipes.
Storage: Refrigerate up to 2 months. To refresh, keep 200 ml of old yeast water, add 1 new date, 1 tsp sugar, and 300 ml water; ferment 2–3 days until bubbly again.
Notes
Use only glass jars, never metal or plastic. Label jars with start dates. Avoid citrus or bananas—they inhibit fermentation. If kitchen is cool, place jar on a warm appliance or low heating pad.
Before diving into the recipe, it’s essential to clarify common misconceptions. Natural yeast refers to wild strains of Saccharomyces cerevisiae and related species captured from the environment often via fruit, grains, or air and cultivated in a nutrient-rich medium. It is not the same as nutritional yeast (a deactivated, flaky supplement rich in B vitamins) nor identical to wild yeast used in sourdough (which coexists with lactic acid bacteria).
This guide focuses on pure natural yeast water a clean, bacteria-minimized ferment ideal for those seeking a non-sourdough alternative with reliable rising power.
Ingredients for Natural Yeast Water (Alcohol-Free)
All ingredients must be organic and unwashed to preserve native yeast on the surface:
2 organic Medjool dates (or 10 raisins, or ½ cup apple pieces) : Rich in natural sugars and wild yeast; avoid bananas (they inhibit fermentation)
1 teaspoon organic cane sugar or raw honey : Feeds the yeast; honey adds antimicrobial properties that may reduce unwanted bacteria
500 ml (2 cups) filtered or spring water : Chlorine-free to avoid killing beneficial microbes
1 clean 750ml glass jar with loose-fitting lid : Sterilized with hot baking soda solution (1 tsp baking soda per 1L hot water)
Modification Tip: Use gluten-free if concerned about cross-contamination, though this recipe contains no flour and is naturally gluten-free.
Step-by-Step Preparation Method
Step One: Sterilize and Combine
Thoroughly clean your jar and lid with hot baking soda water, then rinse with boiling water. Add the dates (or fruit), sugar/honey, and water. If using whole dates, halve them to expose more surface area.
Step Two: Ferment with Care
Loosely cover the jar (to allow CO₂ to escape but keep contaminants out). Place in a warm (20–27°C / 68–80°F), dark spot like a kitchen cupboard away from direct sunlight.
Step Three: Daily Maintenance
Once per day for 3–8 days:
Open the lid briefly to release pressure.
Shake vigorously for 10 seconds to oxygenate.
Retighten loosely.
Signs of Success:
Day 2–3: Tiny bubbles form.
Day 4–6: Water turns cloudy, vigorous bubbling.
Day 5–8: Bubbling slows; liquid smells mildly sweet-fermented (like apple cider). Discard if it smells rotten, vinegary, or shows mold.
Step Four: Ready to Bake
When bubbling decreases but the liquid remains pleasantly aromatic, your natural yeast is ready. Shake well before use the yeast settles at the bottom.
Pro Tip: For stronger leavening, add a pinch of commercial dry yeast to the initial mix to “seed” the culture this speeds up fermentation without compromising natural benefits.
How to Use Natural Yeast in Baking
Use 100–135 ml (½ cup) of yeast water per 500g (4 cups) of flour equivalent to one 7g packet of dry yeast.
Allow longer proofing times (often 1.5–2x longer than commercial yeast) due to milder yeast activity.
Natural Yeast vs Wild Yeast: What’s the Difference?
Primary Microbes
MostlySaccharomycesyeast
Yeast + Lactic Acid Bacteria
Flavor
Mild, slightly fruity
Tangy, complex
Leavening Power
Moderate to strong
Slower, requires maintenance
Maintenance
Refresh every 2 months
Daily feeding if kept active
Best For
Sandwich bread, pizza, rolls
Artisan loaves, rye bread
Natural yeast benefits include better digestibility (lower phytic acid), enhanced nutrient bioavailability, and a cleaner taste profile for those sensitive to sourdough’s acidity.
Storage and Reheating (for Yeast Culture)
Refrigerate in a sealed jar for up to 2 months.
To refresh: Keep 200 ml of old yeast water, add 1 new date, 1 tsp sugar, and 300 ml water. Ferment 2–3 days at room temperature until bubbly, then refrigerate or use.
Never freeze it kills the live cultures.
Variations and Customizations
Fruit Alternatives: Try organic figs, grapes, or pear—avoid citrus (too acidic).
Boost Nutrition: Add a pinch of sea salt to support microbial balance.
For Faster Start: Include a single raisin from a trusted organic source known for natural fermentation (some vineyards cultivate wine yeast on skins).
This article provides general informational and educational content about making natural yeast at home. It is not intended as medical advice, diagnosis, or treatment. Fermentation involves live microorganisms, and improper handling may lead to contamination. This recipe does not replace a medical prescription. Consult a healthcare provider before consuming homemade ferments if you are pregnant, nursing, immunocompromised, or have a chronic health condition. Always discard any culture showing mold, foul odor, or unusual discoloration.